


How to Remove Mould and Keep Your Shower Spotless

There’s nothing quite as frustrating as stepping into a shower that looks clean, only to spot creeping patches of mould around the silicone, grout, or corners. Despite our best efforts, bathrooms—particularly showers—are the perfect breeding ground for mould due to their constant exposure to moisture and limited ventilation. But with the right habits and a few clever tools, you can say goodbye to mould and hello to a sparkling, fresh space.
Why Does Mould Grow in the Shower?
Mould thrives in damp, warm environments—making your shower an ideal location. It's often found where water tends to sit, like between tiles, along the edges of shower trays, or in the sealant. Poor air circulation and lack of natural light further encourage its growth. And once it’s there, it’s stubborn.
Step-by-Step: How to Remove Mould Effectively
-
Ventilate First
Open a window or run an extractor fan to reduce humidity. This helps slow the return of mould once removed. -
Apply a Targeted Mould Remover
Not all mould removers are created equal. Look for one that clings to surfaces and stays in place long enough to work its magic. Gels tend to be more effective than sprays, especially on vertical surfaces like grout lines and silicone seams.
For example, a gel-based formula like the one offered by Showery is particularly helpful. It’s designed to sit neatly on stubborn spots without dripping away, allowing the active ingredients to deeply penetrate and break down mould at its roots.

-
Leave It to Work
Follow the product’s instructions carefully. Most gels work best when left for several hours or even overnight for deeper staining. -
Wipe and Rinse
Once the gel has done its job, wipe it away with a damp cloth or sponge and rinse thoroughly. You should notice a visible difference—even on those dark, mouldy corners that never seemed to come clean before. -
Repeat if Necessary
For heavy build-up, a second application may be required, but you’ll likely find the surface looking noticeably fresher after just one treatment.
Keeping It Clean: Prevention Tips
-
Dry Your Shower After Use
Keep a squeegee or microfibre cloth handy and give the tiles, glass, and fittings a quick wipe after each use. -
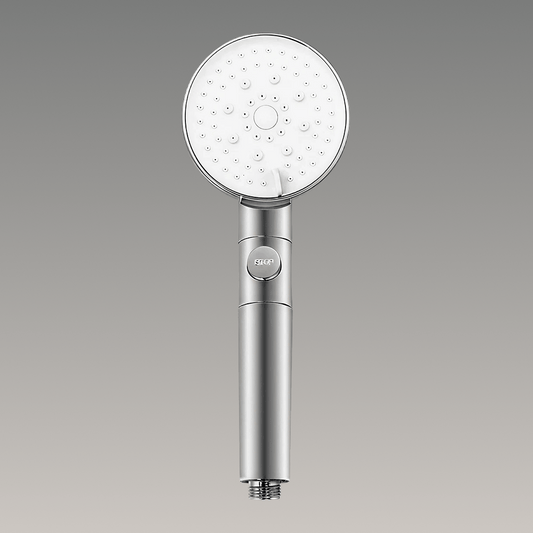
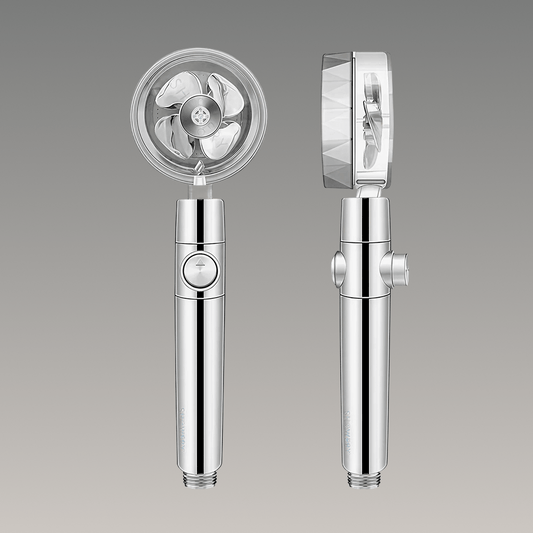
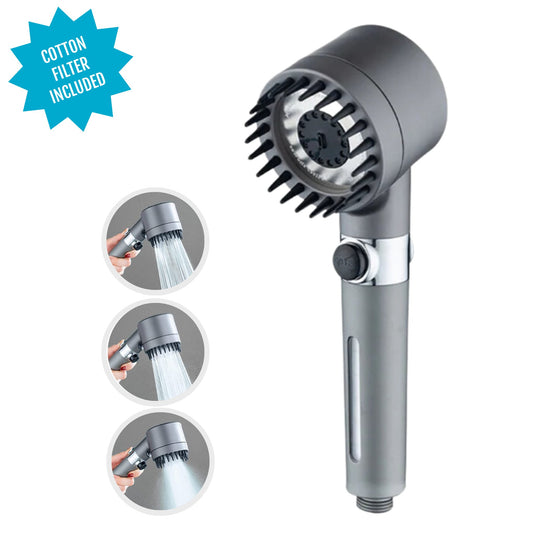
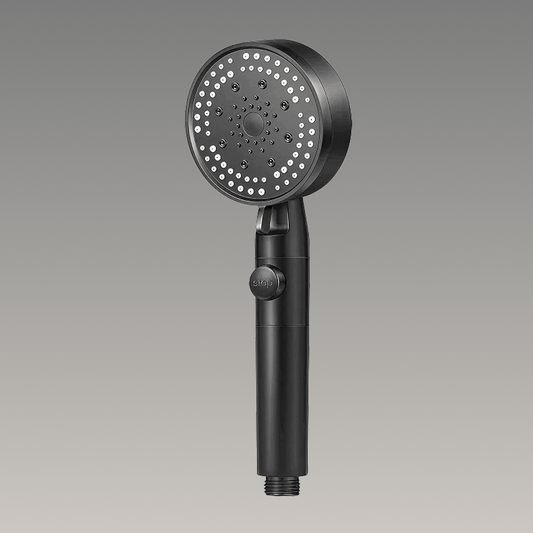
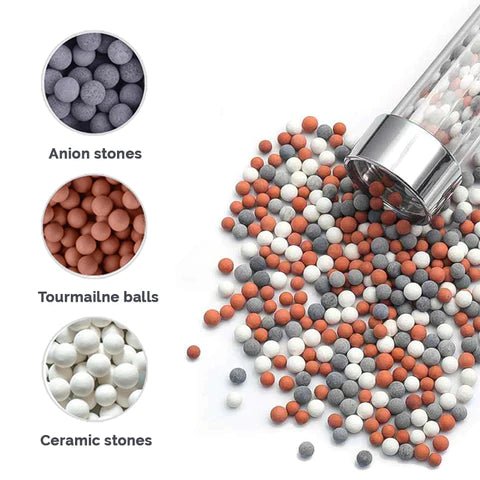
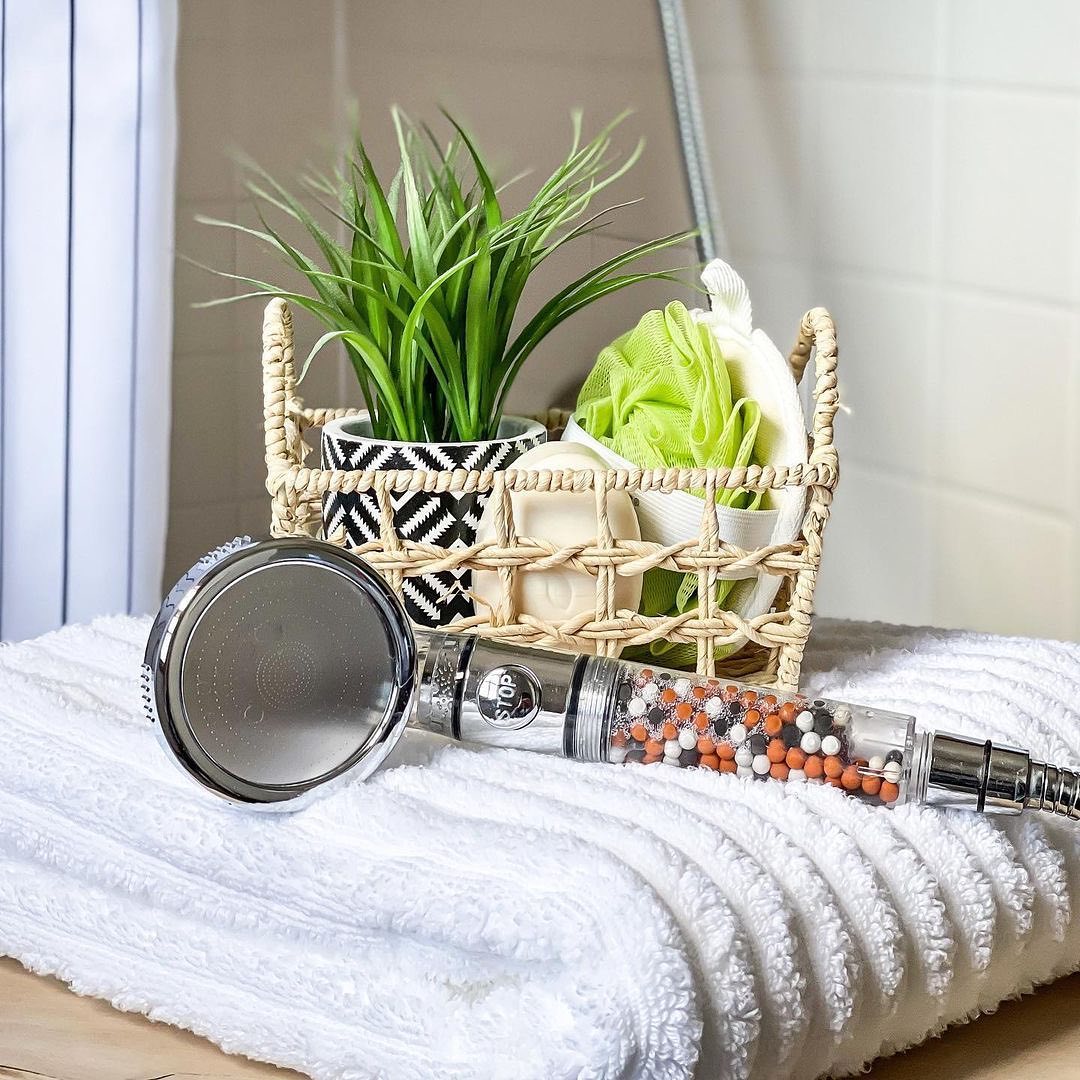
Use a Quality Shower Head
Believe it or not, a well-designed shower head can make a difference. Showery’s high-pressure heads, for example, not only offer a luxurious shower experience but help reduce lingering moisture, especially when paired with a filter system that removes impurities from your water.

-
Keep Air Flowing
Leave the bathroom door ajar and ensure fans are working efficiently. Mould loves stale air. -
Regularly Deep Clean
Make it part of your routine—whether weekly or fortnightly—to check the edges, seals, and grout lines. A few minutes of maintenance now saves a lot of scrubbing later.
Final Thoughts
Removing mould doesn’t need to be a daunting task. With the right approach and the help of thoughtfully designed tools like Showery’s gel remover and high-performance shower heads, keeping your bathroom clean and inviting becomes much simpler. After all, your shower should be a sanctuary—not a battleground against mould.