How to Install a Shower Head Yourself: A Step-by-Step Guide
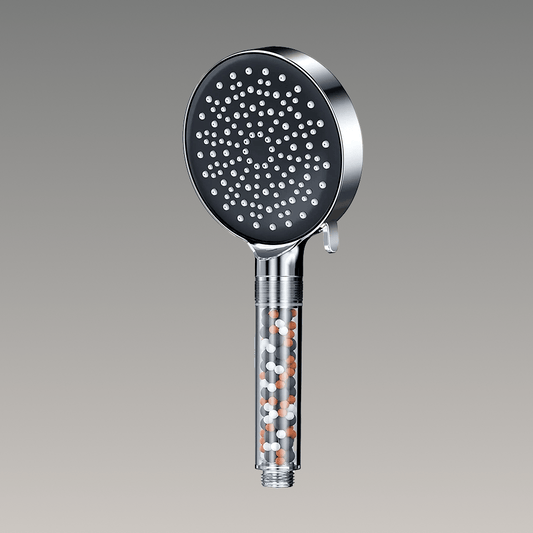
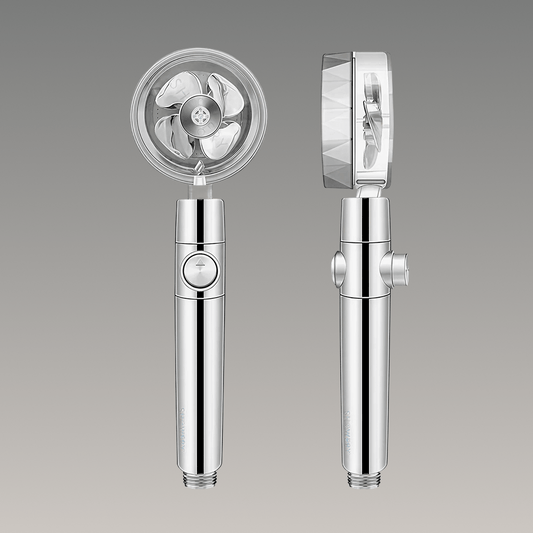
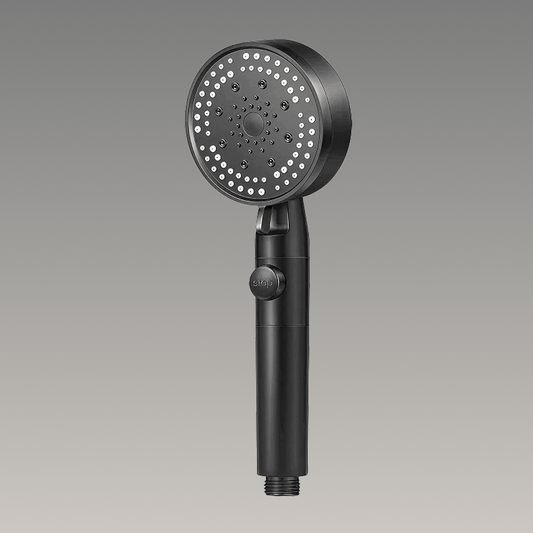
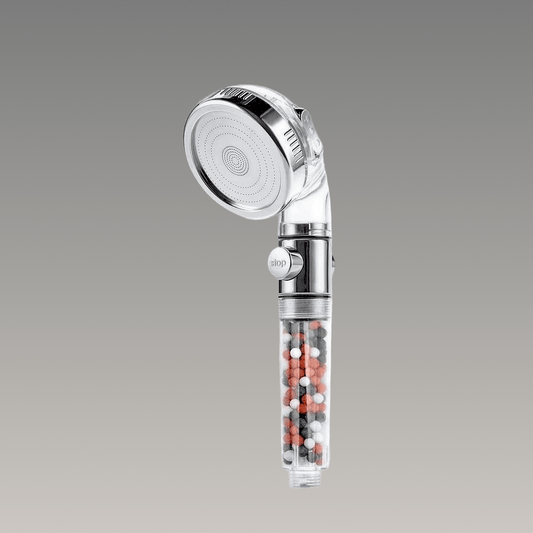
Installing a shower head yourself might sound intimidating, but it’s a relatively simple task that can make a big difference in your bathroom. Whether you want to replace an old one, upgrade to a high-pressure shower head, or improve water filtration, doing it yourself saves time and money. Here’s a step-by-step guide to help you install a shower head with ease, featuring tips for installing Showery shower heads.
Step 1: Gather Your Tools
Before getting started, you’ll need a few basic tools:
- Adjustable wrench
- Plumber’s tape (also called Teflon tape)
- A soft cloth or towel
Most shower heads, including those from Showery, come with all the necessary parts for installation. If you're upgrading to a Showery shower head, you’ll find it’s designed to be easy to install, no professional tools required.
Step 2: Remove the Old Shower Head
Start by removing your old shower head. Use an adjustable wrench to loosen the connection where the shower head attaches to the arm (the pipe extending from the wall). If the old shower head is stuck, use the wrench carefully to avoid damaging the shower arm. You can place a soft cloth over the fixture to protect it from scratches.
Once the old shower head is removed, wipe down the threads of the shower arm to clear any debris or old tape.
Step 3: Apply Plumber’s Tape
To ensure a watertight seal, wrap the threads of the shower arm with plumber’s tape. This will prevent leaks and make the connection more secure. Wrap the tape around the threads two or three times, making sure it’s smooth and evenly applied.
Step 4: Attach Your New Shower Head
Now, it’s time to attach your new shower head. If you’re installing a Showery shower head, you’ll find that the process is straightforward, and the shower head will easily screw onto the shower arm. Twist it in a clockwise direction until it’s hand-tight.
Once it's hand-tight, use the wrench to give it a quarter turn to secure it further. Be careful not to overtighten, as this can damage the fixture or cause leaks.
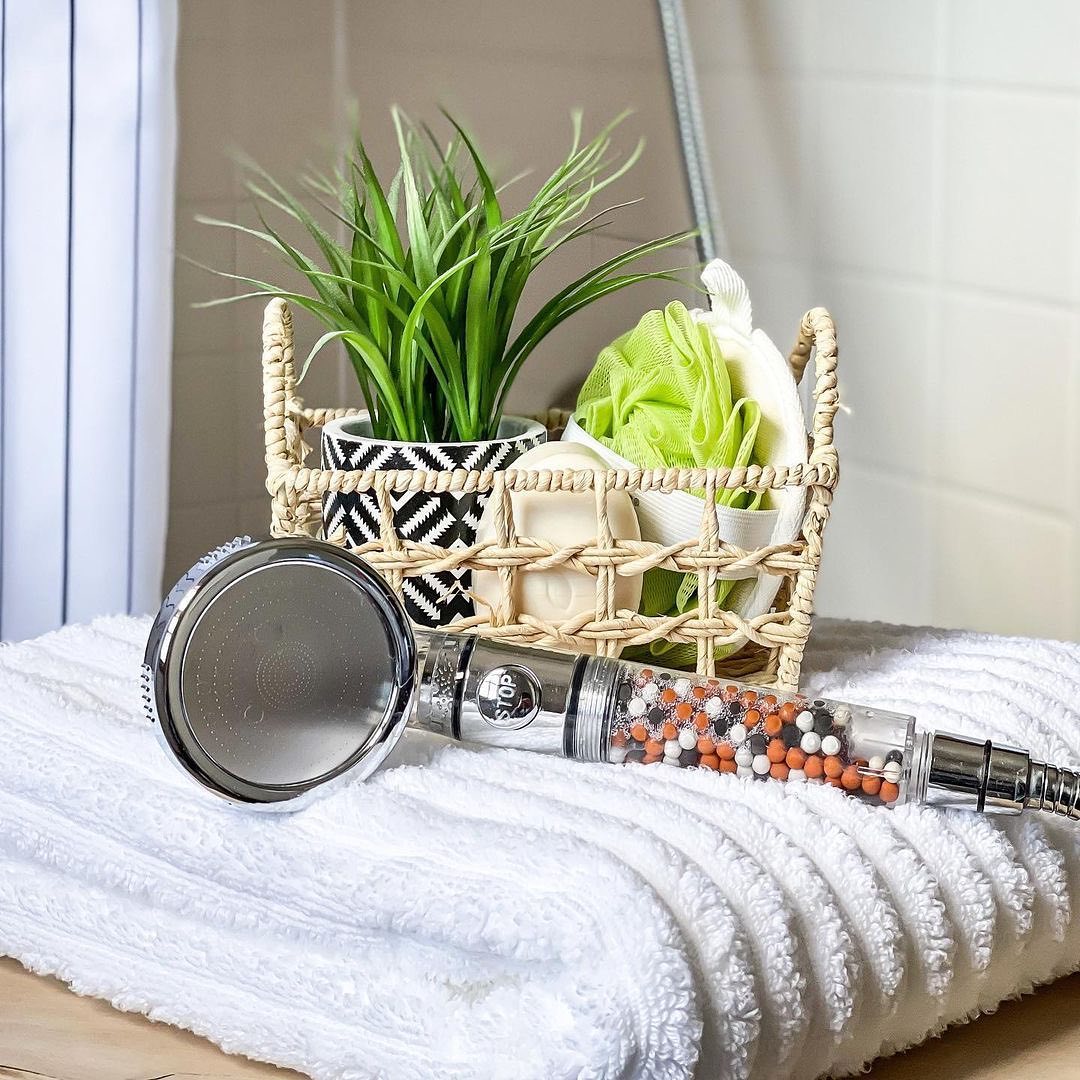
Photo by: @ellenblisshome
Step 5: Test for Leaks
Before you finish, turn on the water to test the new shower head for leaks. If you notice any dripping around the connection, turn off the water and tighten the shower head slightly. If it continues to leak, you may need to remove it and apply more plumber’s tape to the threads.
Step 6: Enjoy Your New Shower Experience
With your new shower head installed, you can now enjoy a refreshed showering experience. Showery shower heads offer high water pressure, water-saving technology, and filtration benefits, making your daily shower more enjoyable and eco-friendly. Whether you choose a multi-mode shower head or a high-pressure option, the benefits of upgrading are clear.
Tips for Maintenance
To keep your new shower head performing at its best, make sure to clean it regularly. Hard water and mineral deposits can build up over time, affecting water flow. Showery’s shower heads are easy to clean and maintain, ensuring long-lasting performance.
Final Thoughts
Installing a shower head is a quick and easy project that can transform your shower experience. With just a few tools and some plumber’s tape, you can have a new shower head installed in minutes. If you're in the market for an upgrade, consider Showery shower heads, designed for easy installation and exceptional performance.
