


Fix a Dripping Shower Head with This Easy Guide

A dripping shower head can be an irritating problem, not to mention wasteful. Over time, it could add up to gallons of wasted water and an increase in your utility bills. Fortunately, you don’t need to be a professional plumber to fix it. With a bit of patience and some basic tools, you can restore your shower head to proper working condition in no time.
Why Do Shower Heads Drip?
Before diving into the solution, it helps to understand why your shower head might be leaking. Common causes include:
- Worn Out Washers or O-Rings: These rubber components can degrade over time, leading to leaks.
- Mineral Build-Up: Hard water deposits can clog the shower head, causing water to leak through unintended gaps.
- Faulty Diverter Valve: If your shower head shares a connection with a bathtub faucet, the valve might not be sealing properly.
- Loose Connections: Over time, fittings can loosen, allowing water to escape.
How to Fix a Dripping Shower Head
Here’s a step-by-step guide to address the issue:-
Turn Off the Water Supply
Before you begin, shut off the water supply to avoid a mess. Locate the main water valve or the shower-specific valve and turn it off. -
Remove the Shower Head
Unscrew the shower head from the pipe. You might need a wrench for this, but remember to wrap the pipe with a cloth to avoid scratches. -
Inspect and Clean the Shower Head
Once removed, check for mineral deposits around the nozzles and threads. Soak the shower head in a solution of white vinegar and water for about an hour. Use a soft brush to gently scrub away build-up. -
Replace Washers or O-Rings
Disassemble the shower head to locate the washers or O-rings. If these appear worn or cracked, replace them with new ones. These components are inexpensive and widely available at hardware stores. -
Check the Threads
Inspect the threads on the shower arm and shower head. Wrap the threads with plumber’s tape to ensure a tight seal when reassembling. -
Re-attach the Shower Head
Screw the shower head back onto the pipe. Tighten it with a wrench, but don’t overtighten as this could damage the fittings. -
Turn On the Water Supply
Turn the water supply back on and test the shower head for leaks. If it’s still dripping, you may need to revisit the steps or consider replacing the unit.
Prevent Future Drips
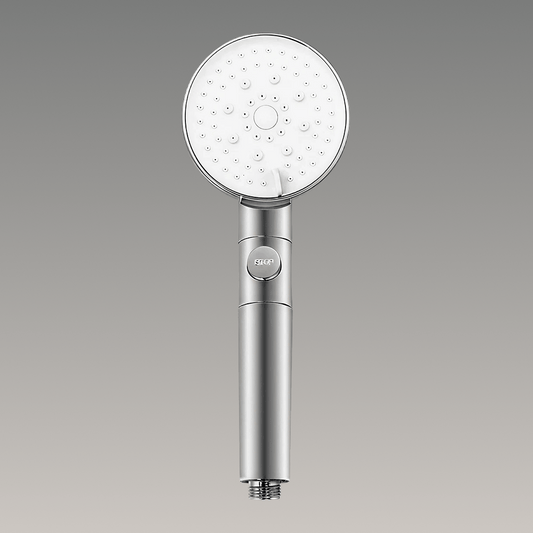
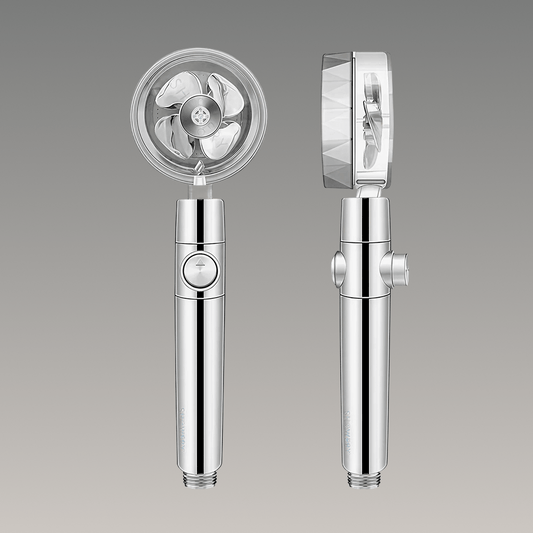
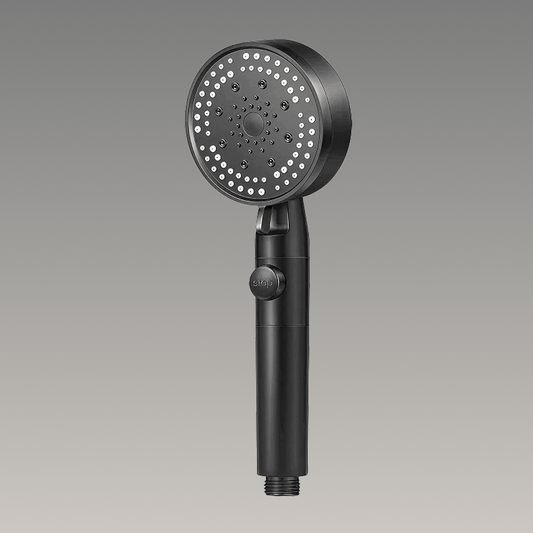
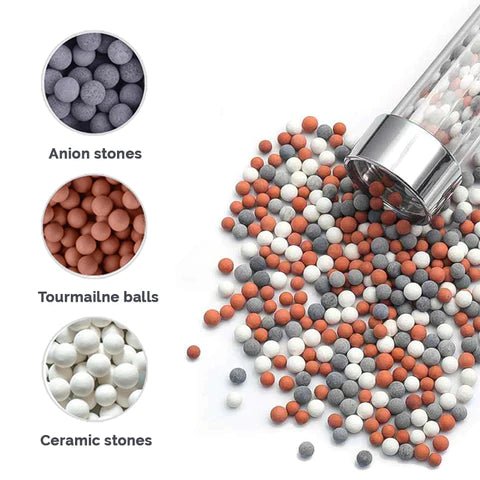
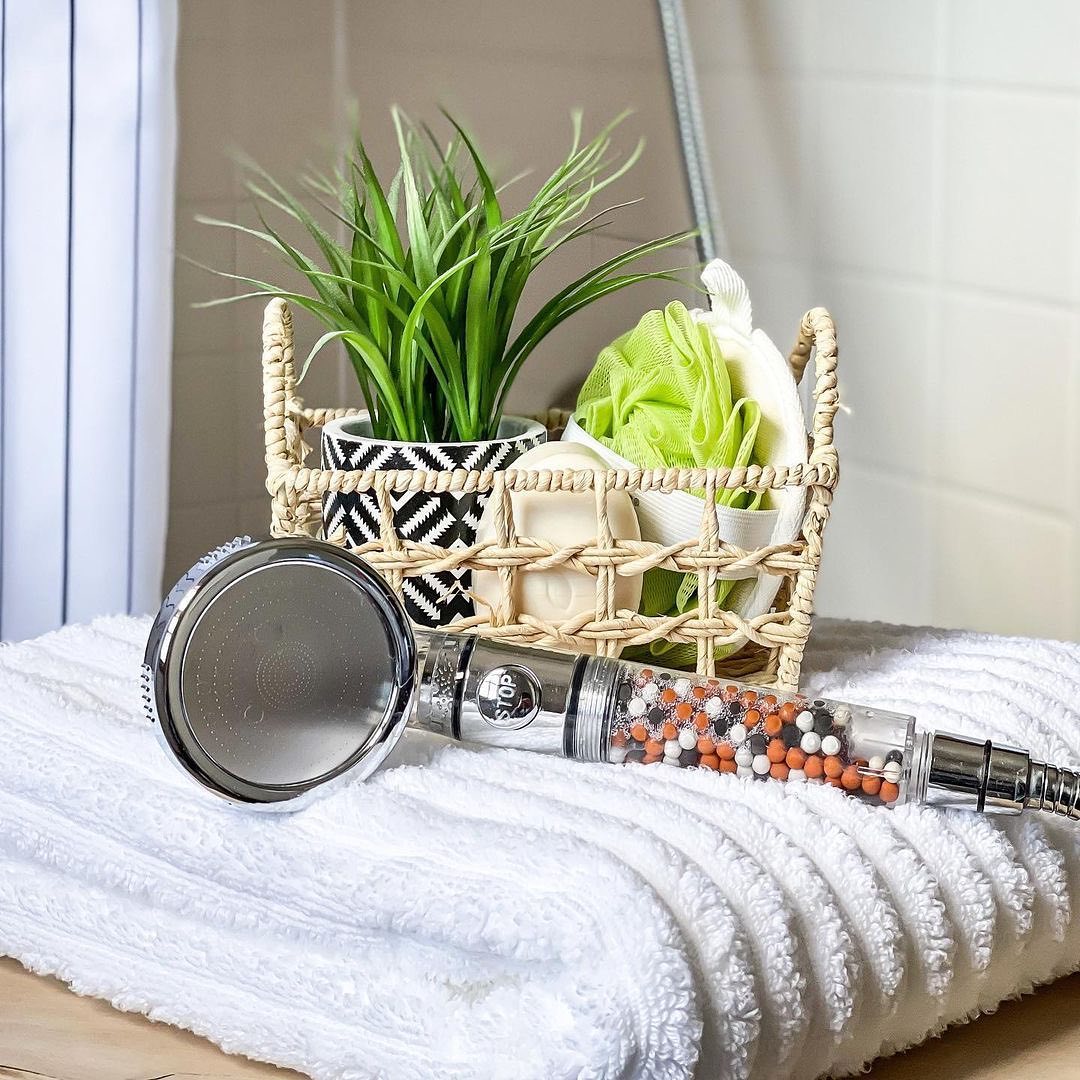
To avoid similar issues in the future, consider upgrading to a high-quality shower head that’s designed to minimise leaks and resist mineral build-up. Products like those from Showery offer innovative features, including built-in filters that tackle hard water and durable designs that stand the test of time.

By following these steps, you can fix a dripping shower head and enjoy a more efficient, stress-free shower experience. Remember, a little maintenance goes a long way in preserving both your bathroom and your peace of mind.