


DIY Tips for Installing a Long Shower Hose

Upgrading your shower with a longer hose is a simple yet effective way to enhance your bathing experience. Whether you're looking to add flexibility, make cleaning easier, or improve accessibility for all family members, installing a long shower hose can make a noticeable difference. If you’re ready to take on this DIY project, we’ve got you covered with some practical tips for a smooth installation process.
1. Choose the Right Length and Style
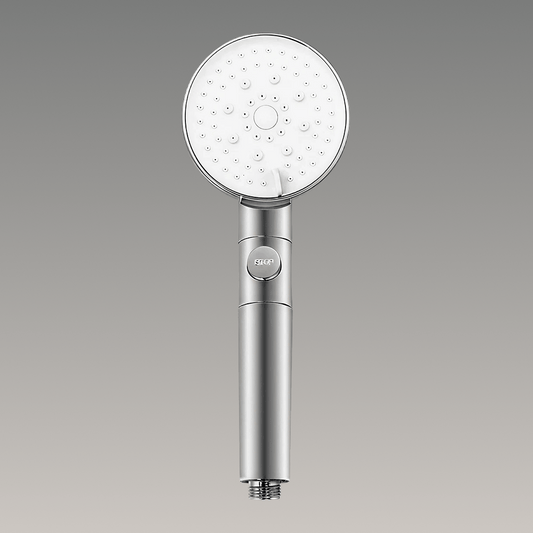
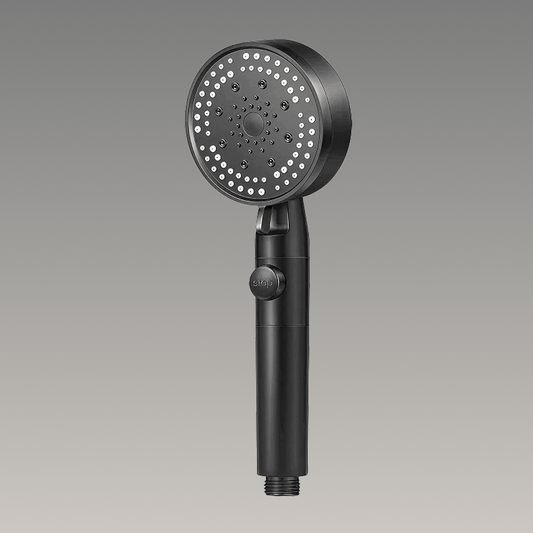
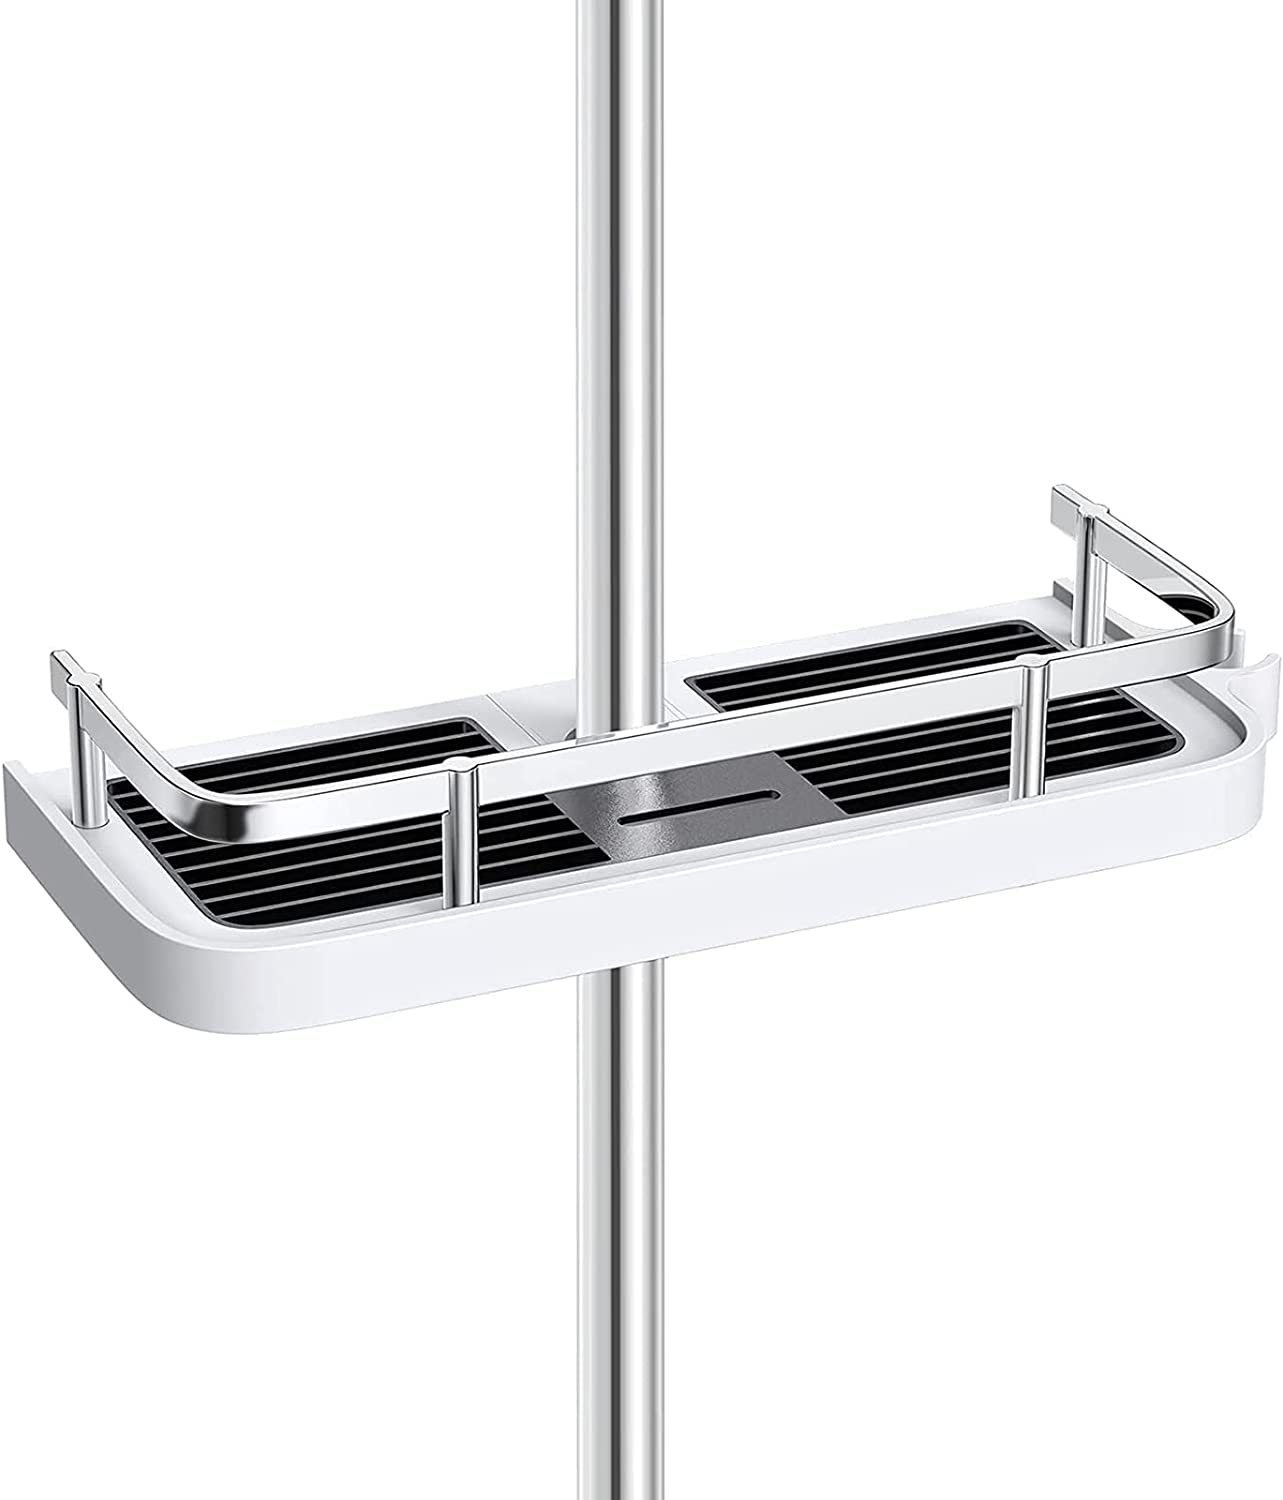
The first step in your DIY shower hose installation is selecting the appropriate hose. A longer hose will provide greater flexibility, especially if you have a large shower or need to move around more freely. It's important to choose a hose that suits both your shower space and your needs. Whether you prefer a more traditional or modern design, you’ll find a range of shower hoses, such as those offered by Showery, that are durable and designed to fit various shower heads.
When selecting the right hose, ensure that the length works well for your shower setup. Typically, hoses range from 1.5 meters to 3 meters, but you may need a longer option depending on your space.
2. Gather Your Tools
Before starting the installation, ensure you have all the necessary tools and materials. You will need:
- A new long shower hose (make sure it’s compatible with your existing shower head and faucet)
- Adjustable wrenches or pliers
- Teflon tape (plumbing tape)
- A clean cloth for wiping down connections
Having everything ready ensures a smoother and quicker installation process.
3. Remove the Old Hose
To begin, turn off the water supply to the shower. If you're replacing an old shower hose, start by unscrewing it from both the shower head and the faucet using adjustable wrenches or pliers. Be sure to handle the connections gently to avoid damaging the shower fixtures.
Once you’ve removed the old hose, inspect the shower head and faucet for any build-up or debris. It’s a good idea to clean the threads and check for any signs of wear before proceeding.
4. Apply Teflon Tape
To ensure a secure, leak-free connection, wrap Teflon tape around the threads of the faucet where the hose will connect. This step is essential to create a tight seal and prevent any water leaks. Be sure to wrap the tape around the threads a few times to cover the area completely.
5. Attach the New Hose
Now, it’s time to attach your new long shower hose. Start by connecting one end of the hose to the faucet. Make sure the hose is screwed on tightly, but avoid overtightening to prevent damage. Next, attach the other end of the hose to the shower head, making sure it’s securely fastened.
Once everything is in place, give the hose a quick test to check for leaks. If you notice any, gently tighten the connections or apply more Teflon tape as needed.
6. Test Your New Setup
After installation, turn the water supply back on and test your new shower hose. Enjoy the extra flexibility and reach! A longer hose can make showering more convenient, especially for tasks like cleaning the shower or bathing pets.
If you’re in the market for a high-quality, durable shower hose, Showery offers a range of options designed to meet various needs. Their hoses are built to last and are made with top-quality materials for a seamless fit with your shower setup.

7. Regular Maintenance
To keep your long shower hose in good condition, remember to perform regular maintenance. Clean the hose regularly to prevent any buildup or clogs, and inspect it for any signs of wear. If the hose ever becomes damaged or starts leaking, replacing it is easy and affordable.
Final Thoughts
Installing a long shower hose is a simple DIY project that can significantly improve your shower experience. By following these steps and selecting the right hose, you'll enjoy the added convenience and flexibility in no time. If you're looking for shower hoses that combine durability with style, Showery shower heads are a great choice for your bathroom upgrades. Happy DIY-ing!